Aiursoft Template Tutorial - Step 7 - 增加全新的配置项目,并支持环境变量
作为站长,有一些应用的配置可能默认配置并不能满足。我们需要允许管理员自己可以调整一些配置项目,来改变应用的默认行为,例如:
- 允许或禁止注册新用户。
- 允许或禁止匿名用户使用应用。
- 允许或禁止用户删除自己的内容。
Step 7.1 - 理解 ASP.NET Core 的配置系统 (可选)
Aiursoft Template 使用 ASP.NET Core 自带的配置系统。配置系统允许我们从多种来源加载配置数据,例如:
- appsettings.json 文件
- appsettings.{Environment}.json 文件,也就是在开发环境中,appsettings.Development.json 文件,而在生产环境中,appsettings.Production.json 文件。
- 环境变量
- 命令行参数
一般的,我们使用 appsettings.json 文件进行本地开发时配置。
方便 Docker 部署的用户直接编辑配置
实际在 Docker 中部署时,appsettings.json 文件会穿透到 /data 目录下,我们可以直接修改这个文件来改变配置。
因此,我们非常建议 Docker 用户在部署时,将主机上的一个路径挂载到容器的 /data 目录下,这样就可以直接编辑主机上的配置文件来改变容器内的配置。
注意:每次修改配置文件后都需要重启应用
ASP.NET Core 的配置系统不会自动监视配置文件的变化,因此每次修改配置文件后都需要重启应用,才能让新的配置生效。
问题:我可以在配置中包含敏感信息吗?
敏感信息例如数据库连接字符串、API 密钥等,建议不要直接写在配置文件中,而是使用环境变量来传递这些信息。这样可以方便 Renew 的时候快速根据声明式的配置而重新生成配置,而不需要担心敏感信息泄露。
例如,现在我们可以尝试禁止应用程序的登录注册功能。
首先使用第一种方法,打开 ./src/MyOrg.MarkToHtml/appsettings.json 文件,将它的 AppSettings:Local:AllowRegister 项设置为 false
此时,这个 JSON 可能是下面的样子:
{
  "ConnectionStrings": {
    "AllowCache": "True",
    "DbType": "Sqlite",
    "DefaultConnection": "DataSource=app.db;Cache=Shared"
  },
  "Storage": {
    "Path": "/tmp/data"
  },
  "AppSettings": {
    "AuthProvider": "Local", // OIDC or Local
    "DefaultRole": "",
    "PersistsSignIn": false,
    "OIDC": {
      // https://auth.aiursoft.cn/application/o/template
      "Authority": "https://auth.aiursoft.cn/application/o/template",
      "ClientId": "",
      "ClientSecret": "",
      "RolePropertyName": "groups",
      "UsernamePropertyName": "preferred_username",
      "UserDisplayNamePropertyName": "name",
      "EmailPropertyName": "email",
      "UserIdentityPropertyName": "sub"
    },
    "Local": {
      "AllowRegister": false,
    }
  },
  "Logging": {
    "LogLevel": {
      "Default": "Information",
      "Microsoft.AspNetCore": "Warning"
    }
  },
  "AllowedHosts": "*"
}
保存文件后,重启应用。我们会注意到,注册按钮已经消失了。
类似的,我们也可以使用环境变量来覆盖配置文件中的配置。
这一次,我们回滚appsettings.json 文件中的配置,考虑到环境变量拥有更高的优先级,我们可以直接设置环境变量 AppSettings__Local__AllowRegister 为 false 来禁止注册功能。
环境变量的优先级最高
ASP.NET Core 的配置系统中,环境变量的优先级高于配置文件中的配置,因此我们可以使用环境变量来覆盖配置文件中的配置。
在上面的例子中,即使我们把 appsettings.json 文件中的 AppSettings:Local:AllowRegister 设置为 true,但是只要我们设置了环境变量 AppSettings__Local__AllowRegister 为 false,注册功能依然会被禁止。
因此,在生产环境,尤其是 Docker 部署中,我们推荐全部使用环境变量来配置应用,而不是直接修改配置文件。
这一次,使用下面的命令来启动项目:
cd ./src/MyOrg.MarkToHtml
AppSettings__Local__AllowRegister=false dotnet run
注意环境变量的命名规则
在环境变量中,使用双下划线 __ 来表示配置项的层级关系。例如,AppSettings:Local:AllowRegister 在环境变量中表示为 AppSettings__Local__AllowRegister。
同样会注意到,注册按钮已经消失了。
在实际生产中,我们推荐使用环境变量来配置,这样方便版本控制我们的配置信息。
Step 7.2 - 添加一个新的配置项目
上面的例子中,我们演示了一个已经被应用程序支持好的配置项目 AppSettings:Local:AllowRegister,但是如果我们需要全新添加一个配置项目呢?
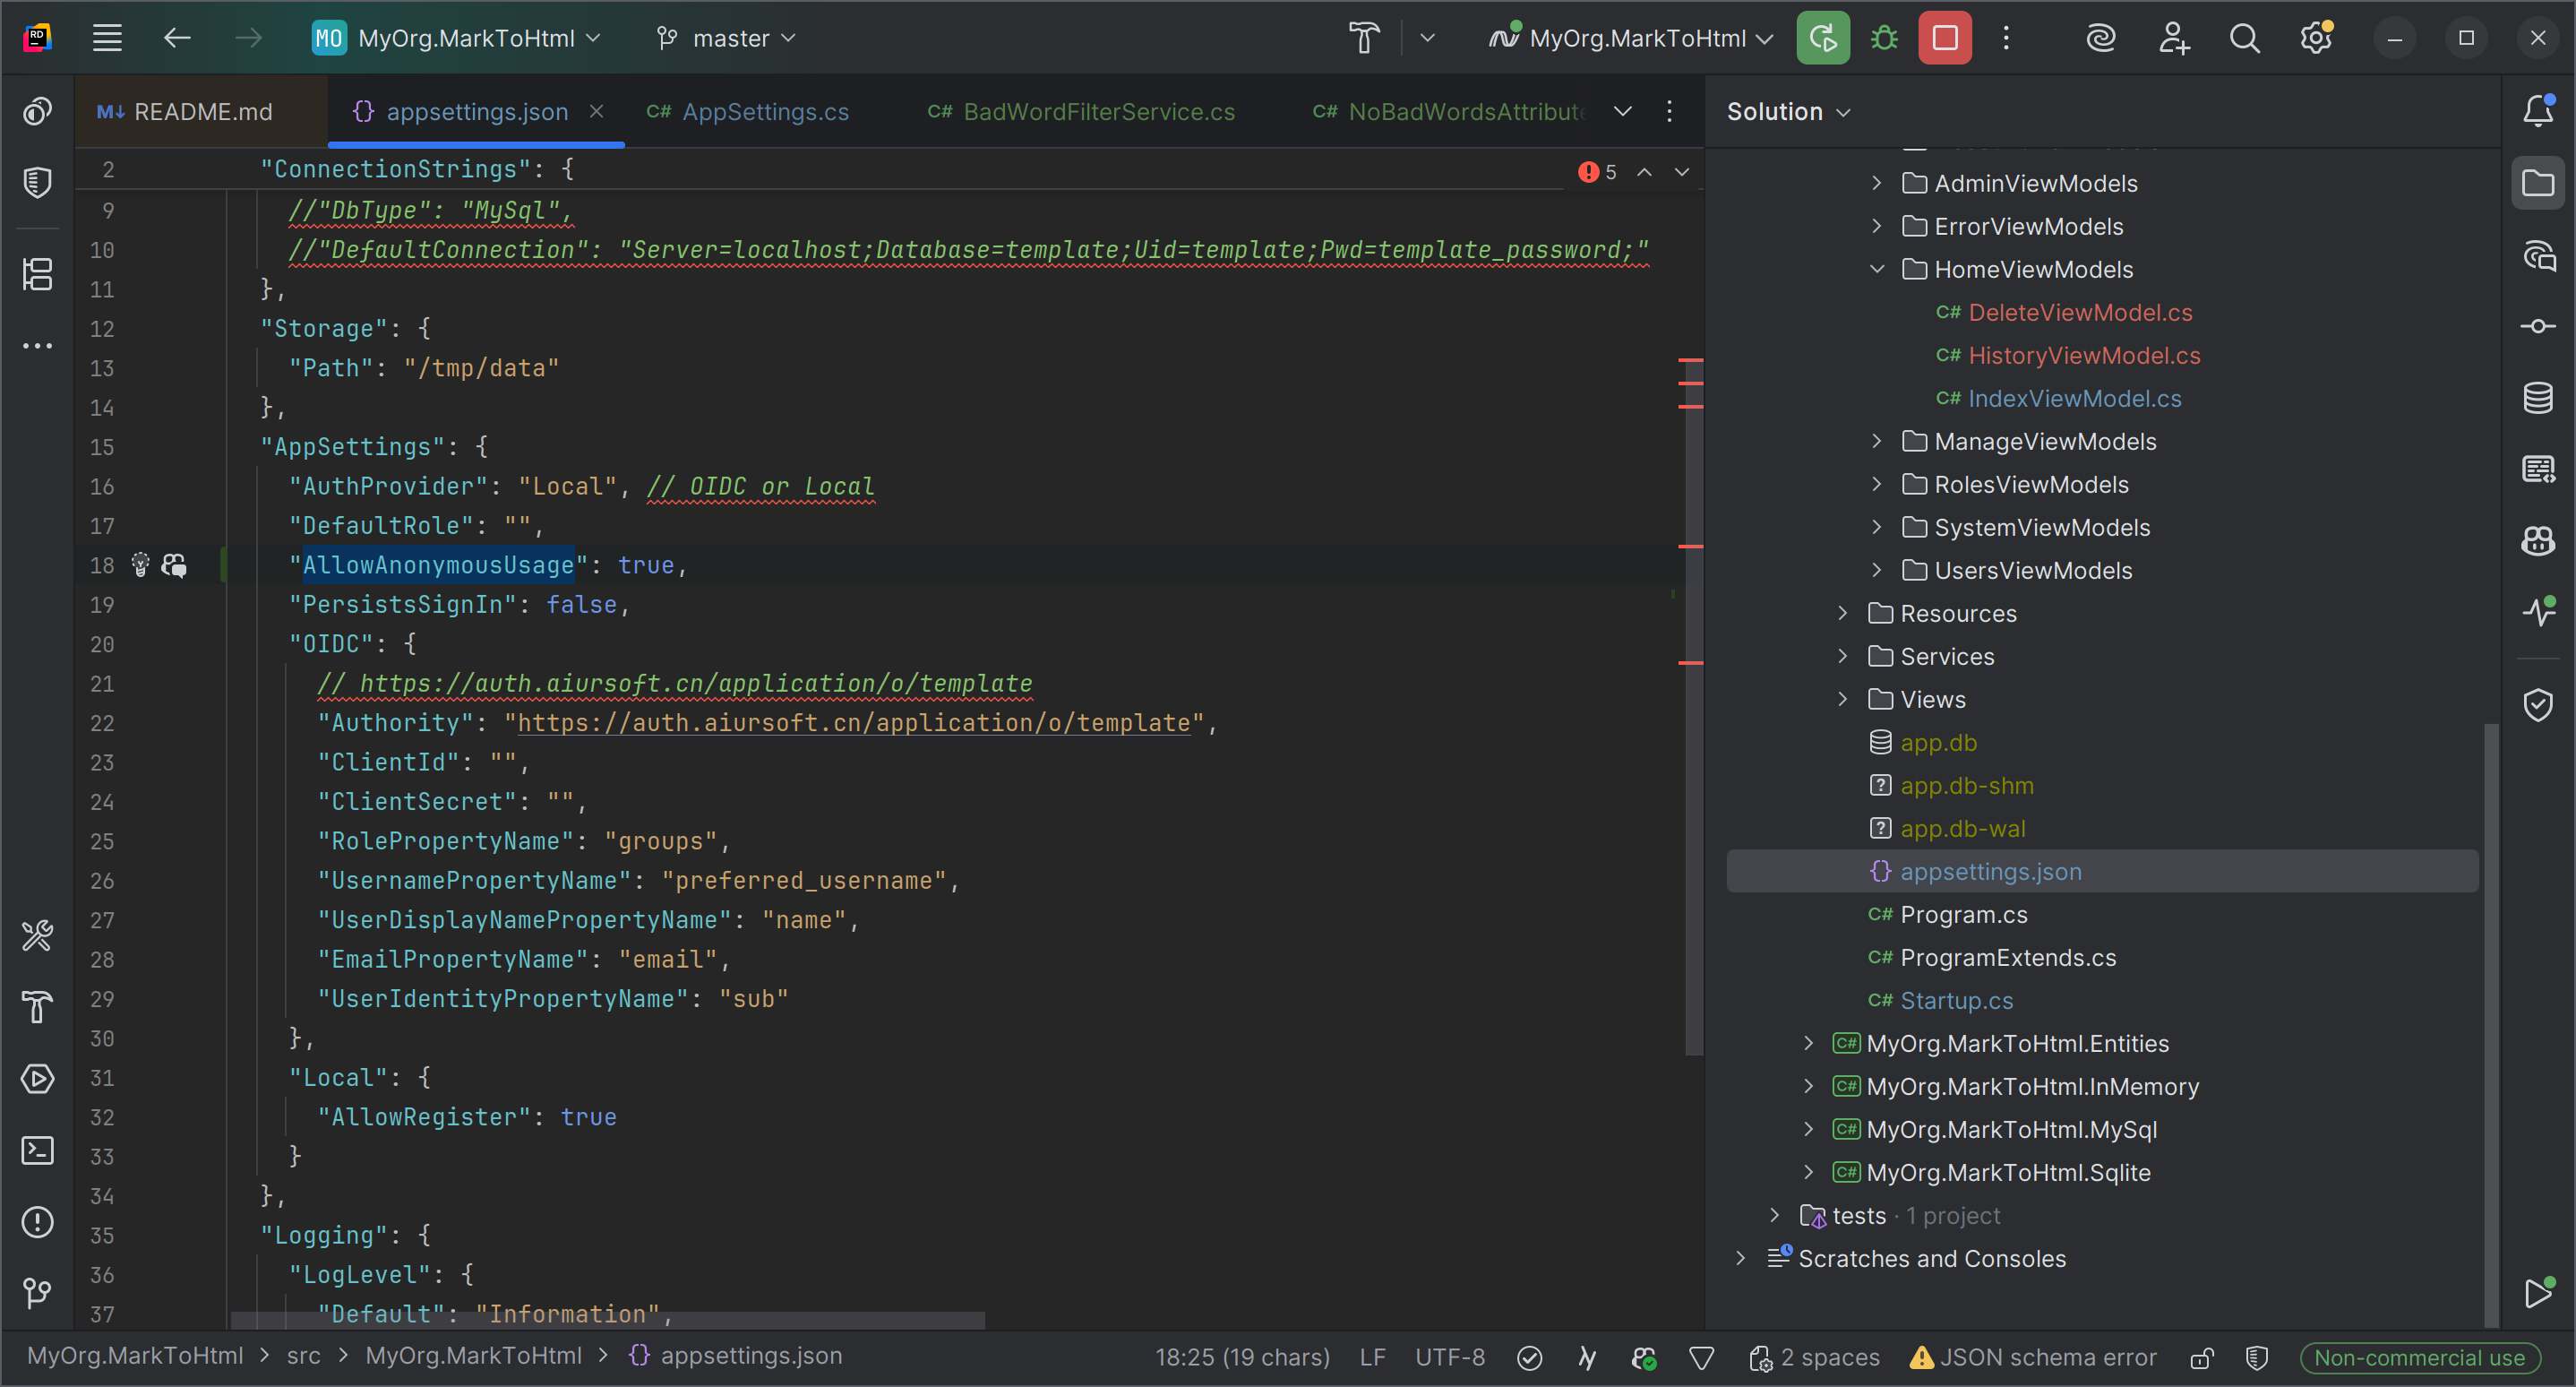
下面,我们将以 AppSettings:AllowAnonymousUsage 为例,来演示如何添加一个新的配置项目,并在代码中使用它。
首先,编辑 appsettings.json 文件中的 AppSettings 节,添加一个新的配置项 AllowAnonymousUsage,并设置它的默认值为 true:
...
  "AppSettings": {
    "AuthProvider": "Local",
    "DefaultRole": "",
    "PersistsSignIn": false,
    "AllowAnonymousUsage": true, // 新增的配置项
    ...
  }
...
接下来,我们编辑 ./src/MyOrg.MarkToHtml/Configuration/AppSettings.cs 文件,添加一个新的属性 AllowAnonymousUsage:
public bool AllowAnonymousUsage { get; init; } = true;
此时,AppSettings.cs 文件可能是下面的样子:
namespace MyOrg.MarkToHtml.Configuration;

public class AppSettings
{
    public required string AuthProvider { get; init; } = "Local";
    public bool LocalEnabled => AuthProvider == "Local";
    public bool OIDCEnabled => AuthProvider == "OIDC";

    public required OidcSettings OIDC { get; init; }
    public required LocalSettings Local { get; init; }

    /// <summary>
    /// Keep the user sign in after the browser is closed.
    /// </summary>
    public bool PersistsSignIn { get; init; }

    /// <summary>
    /// Automatically assign the user to this role when they log in.
    /// </summary>
    public string? DefaultRole { get; init; } = string.Empty;

    /// <summary>
    /// Allow anonymous users to use the application.
    /// </summary>
    public bool AllowAnonymousUsage { get; init; } = true; // <-- 新增的配置项
}
接下来,我们可以在代码中使用这个新的配置项了。
这个配置项的功能是禁止匿名使用,我们直接来到 ./src/MyOrg.MarkToHtml/Controllers/HomeController.cs 文件,首先从依赖注入中索要 IOptions<AppSettings>:
public class HomeController(
    IOptions<AppSettings> appSettings,
    ILogger<HomeController> logger,
    UserManager<User> userManager,
    TemplateDbContext context,
    MarkToHtmlService mtohService) : Controller
然后在 Index 方法中,检查这个配置项,如果发现应用程序禁止匿名使用,并且当前用户未登录,则直接返回 Challenge() 结果,强制用户登录:
Challenge() 方法是什么?
Challenge() 方法会触发认证中间件,通常会将用户重定向到登录页面。如果你使用的是 OIDC 认证,则会将用户重定向到 OIDC 提供者的登录页面。
返回 Challenge() 结果,要远远比 return RedirectToAction("Login", "Account") 更加通用和可靠。尤其是考虑应用可能会使用多种认证方式,例如 OIDC、Local 等。
    public IActionResult Index()
    {
        if (!User.Identity!.IsAuthenticated && !appSettings.Value.AllowAnonymousUsage)
        {
            logger.LogWarning("Anonymous user trying to access the home page. But it is not allowed.");
            return Challenge();
        }
        return this.StackView(new IndexViewModel());
    }
同样的,Index 的 POST 方法也需要检查这个配置项。最终,HomeController.cs 文件可能是下面的样子:
using System.ComponentModel.DataAnnotations;
using Aiursoft.CSTools.Tools;
using MyOrg.MarkToHtml.Models.HomeViewModels;
using MyOrg.MarkToHtml.Services;
using Aiursoft.UiStack.Navigation;
using Microsoft.AspNetCore.Authorization;
using Microsoft.AspNetCore.Identity;
using Microsoft.AspNetCore.Mvc;
using Microsoft.EntityFrameworkCore;
using Microsoft.Extensions.Options;
using MyOrg.MarkToHtml.Configuration;
using MyOrg.MarkToHtml.Entities;

namespace MyOrg.MarkToHtml.Controllers;

public class HomeController(
    IOptions<AppSettings> appSettings,
    ILogger<HomeController> logger,
    UserManager<User> userManager,
    TemplateDbContext context,
    MarkToHtmlService mtohService) : Controller
{
    [RenderInNavBar(
        NavGroupName = "Features",
        NavGroupOrder = 1,
        CascadedLinksGroupName = "Home",
        CascadedLinksIcon = "home",
        CascadedLinksOrder = 1,
        LinkText = "Convert Document",
        LinkOrder = 1)]
    public IActionResult Index()
    {
        if (!appSettings.Value.AllowAnonymousUsage)
        {
            logger.LogWarning("Anonymous user trying to access the home page. But it is not allowed.");
            return Challenge();

        }
        return this.StackView(new IndexViewModel());
    }

    [HttpPost]
    [ValidateAntiForgeryToken]
    public async Task<IActionResult> Index(IndexViewModel model)
    {
        if (!ModelState.IsValid)
        {
            return this.StackView(model);
        }

        var userId = userManager.GetUserId(User);
        if (User.Identity?.IsAuthenticated == true && !string.IsNullOrWhiteSpace(userId))
        {
            // If the user is authenticated, this action only saves the document in the database. And it's `edit` action to render it.
            // And go to the edit page.
            logger.LogTrace("Authenticated user submitted a document with ID: '{Id}'. Save it to the database.",
                model.DocumentId);
            var documentInDb = await context.MarkdownDocuments
                .FirstOrDefaultAsync(d => d.Id == model.DocumentId && d.UserId == userId);
            if (documentInDb != null)
            {
                logger.LogInformation("Updating the document with ID: '{Id}'.", model.DocumentId);
                documentInDb.Content = model.InputMarkdown.SafeSubstring(65535);
                documentInDb.Title = model.Title;
            }
            else
            {
                logger.LogInformation("Creating a new document with ID: '{Id}'.", model.DocumentId);
                model.DocumentId = Guid.NewGuid();
                var newDocument = new MarkdownDocument
                {
                    Id = model.DocumentId,
                    Content = model.InputMarkdown.SafeSubstring(65535),
                    Title = model.InputMarkdown.SafeSubstring(40),
                    UserId = userId
                };
                context.MarkdownDocuments.Add(newDocument);
            }

            await context.SaveChangesAsync();
            return RedirectToAction(nameof(Edit), new { id = model.DocumentId });
        }
        else
        {
            if (!appSettings.Value.AllowAnonymousUsage)
            {
                logger.LogWarning("Anonymous user submitted a document with ID: '{Id}'.", model.DocumentId);
                return Challenge();
            }

            // If the user is not authenticated, just show the result.
            logger.LogInformation(
                "An anonymous user submitted a document with ID: '{Id}'. It was not saved to the database.",
                model.DocumentId);
            model.OutputHtml = mtohService.ConvertMarkdownToHtml(model.InputMarkdown);
            return this.StackView(model);
        }
    }


    ... other methods ...
其它 HomeController 的方法省略。这些方法都是只有已经登录的用户才能访问的,它们已经使用 [Authorize] 特性进行了保护。无需我们额外添加配置检查。
Step 7.3 - 测试新的配置项目
接下来,我们可以测试一下这个新的配置项。使用下面的命令来启动项目:
cd ./src/MyOrg.MarkToHtml
AppSettings__AllowAnonymousUsage=false dotnet run
然后打开浏览器,访问 http://localhost:5000,我们会注意到,如果注销掉当前用户,则首页已经无法访问了,应用会自动跳转到登录页面。
结语
到此为止,我们已经完成了 Aiursoft Template 的第七步教程。在这个步骤中,我们学习了如何添加一个新的配置项目,并在代码中使用它来改变应用的行为。
同时,我们也了解了 ASP.NET Core 的配置系统,以及如何使用 appsettings.json 文件和环境变量来配置应用。
这将为我们将来在 Docker 中部署应用,以及在生产环境中灵活配置应用打下坚实的基础。